Table of contents of user guide
How to get access to SD Desktop with a Findata permit
Note
As Findata states in their data permits, the permit holder must check that the disclosed data corresponds with the permit as soon as possible after receiving access to the disclosed data. A suspected errors must be reported to the data permit authority within 3 months of the permit holder having obtained access to the disclosed data. The 3 month period to report errors starts already, when Findata transfers the data to CSC, regardless of whether the permit holder has a virtual machine ready to access the data or not. Thus, we recommend starting the preparations for the data access early on.
Use case
You need to access SD Desktop. You have a permit from Findata.
Solution
- Create a CSC account
- Create new CSC project
- Fill GDPR document
- Contact CSC service desk
- CSC adds members to your project, please wait
- CSC activates SD Desktop for your project, please wait
- CSC project is ready
- Apply for Billing Units
1. Create a CSC account
Warning-label
Team manager
Info-label
Team member
Only create a CSC account if you have a Haka or Virtu account. If you do not have one, wait until the project has been created and then contact CSC. Alternatively, ask the Team Manager to contact CSC with a list of people who need accounts. How to get an account without Haka or Virtu
- Go to MyCSC portal
- Log in with Virtu or Haka, based on your home organization's federation. Select your home organization and log in to their identity service. How to get an account with Haka or Virtu.
- Fill in your information on the Sign up page.
- You will receive with instructions how to complete the registration.
- Create a password with at least 12 characters, including upper and lowercase letters and at least one number. No special characters allowed.
- Enable two-step authentication (MFA).
2. Create new CSC project
Warning-label
Team manager
- Sign in to MyCSC with your Haka or Virtu credentials.
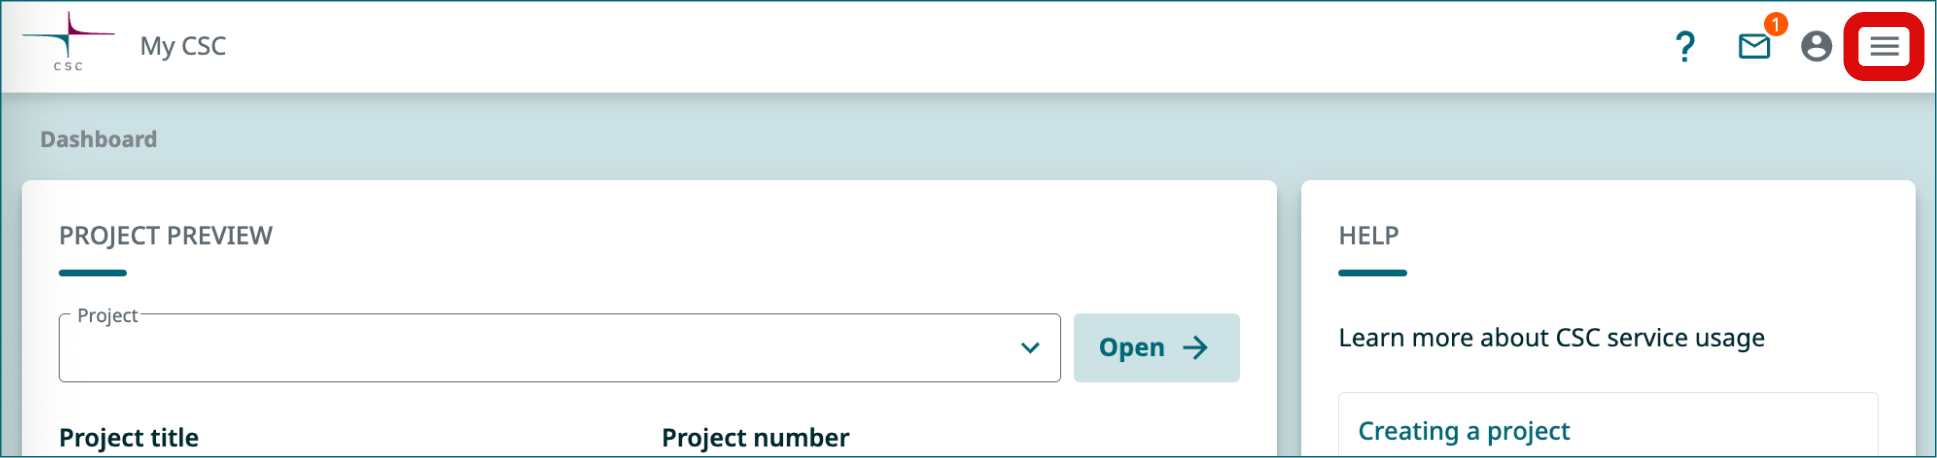
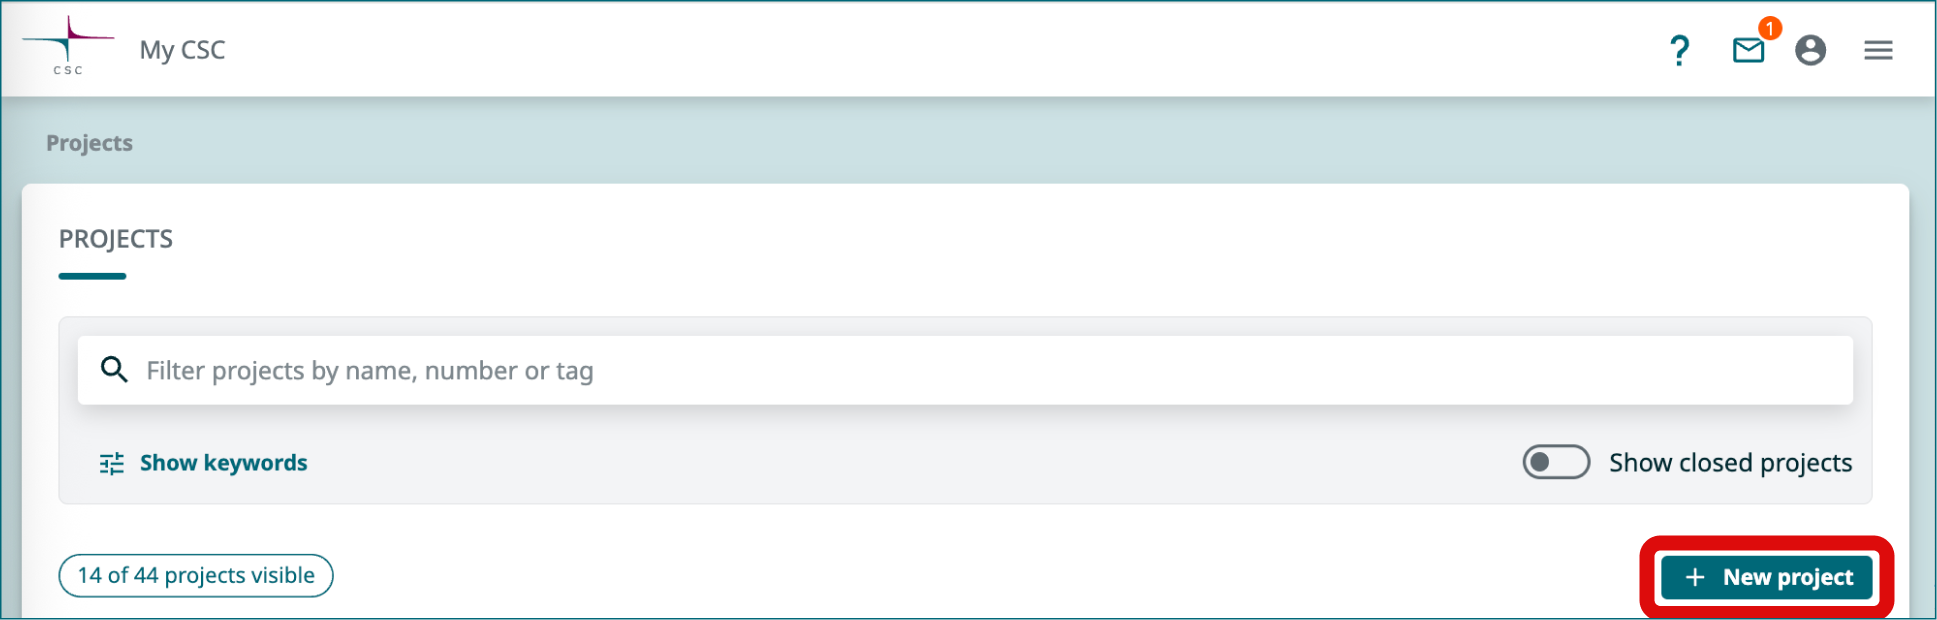
- Go to Projects page (left side menu or a hamburger menu at the top right corner).
- On the top of the page choose New project.
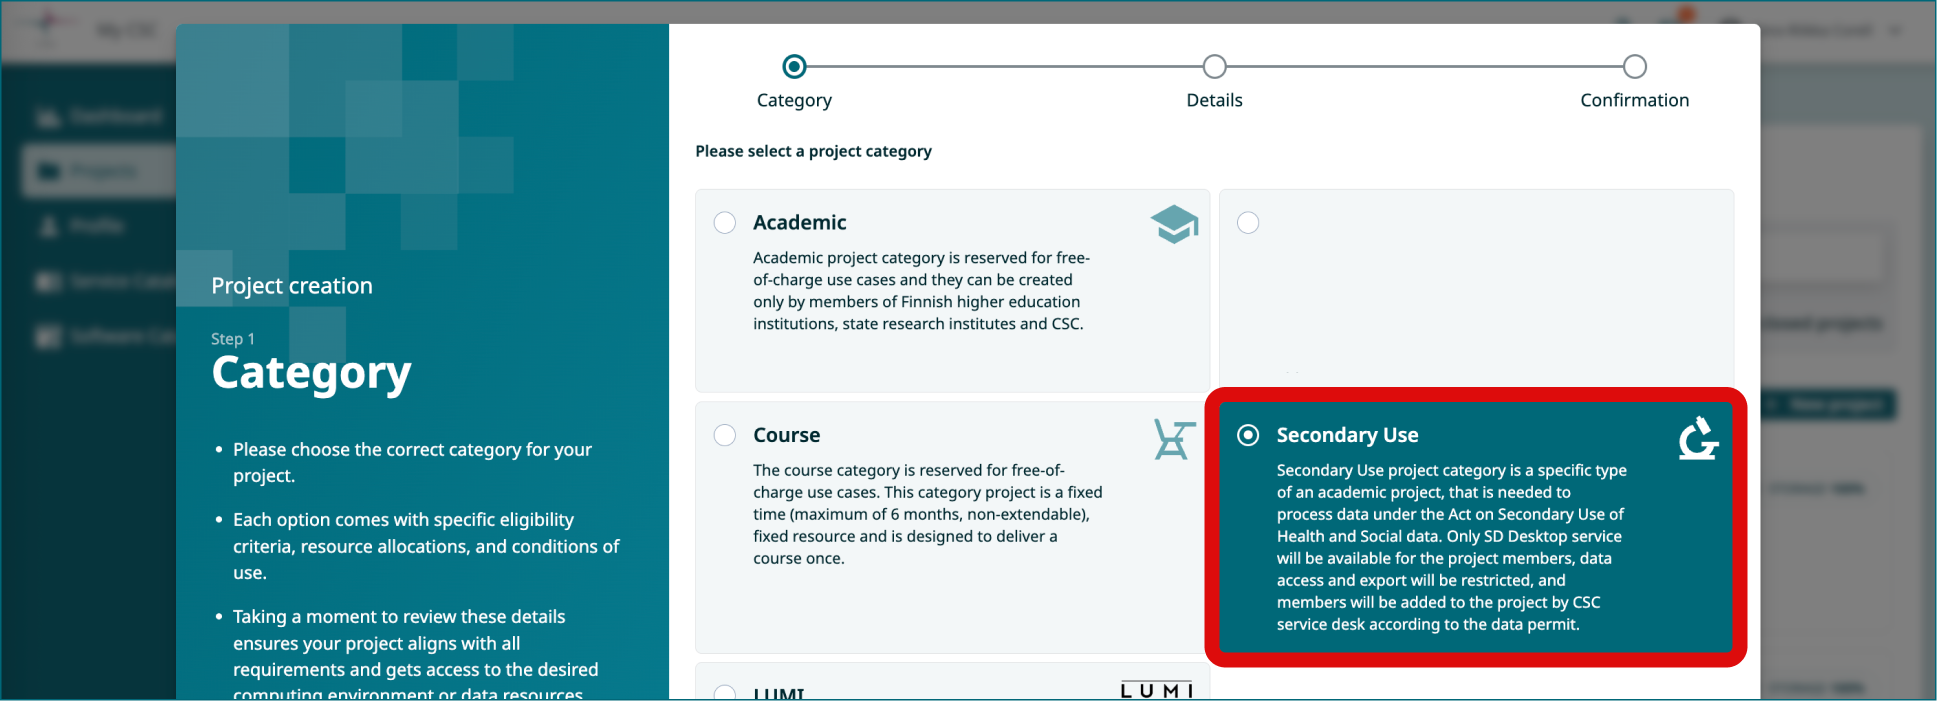
2.1 Choose project category
- In the new window choose the Project category to be Secondary use.
- Click Next.
2.2 Fill in the project details
- Fill in the project name and project description. You can edit these later if needed.
- Choose "Yes" for the field: We handle personal data in this project.
- Click Next.
2.3 Confirmation
- Under Terms of Use, ensure you meet the Prerequisites and Responsibilities to be a CSC Project Manager. For research projects, the Project Manager should be an experienced researcher (e.g., postdoc, group leader, professor, or doctoral researcher employed by a research organization). Note for Students: If you are a student, please have your supervisor create the CSC project or contact CSC Service Desk (subject: sensitive data) for assistance. It is not possible to access SD Services with a student account.
- Read and accept the terms of use.
- Click Submit.
- Wait for your project being created. When project is ready, you'll be redirected to project page.
3. Fill GDPR document
Warning-label
Team manager
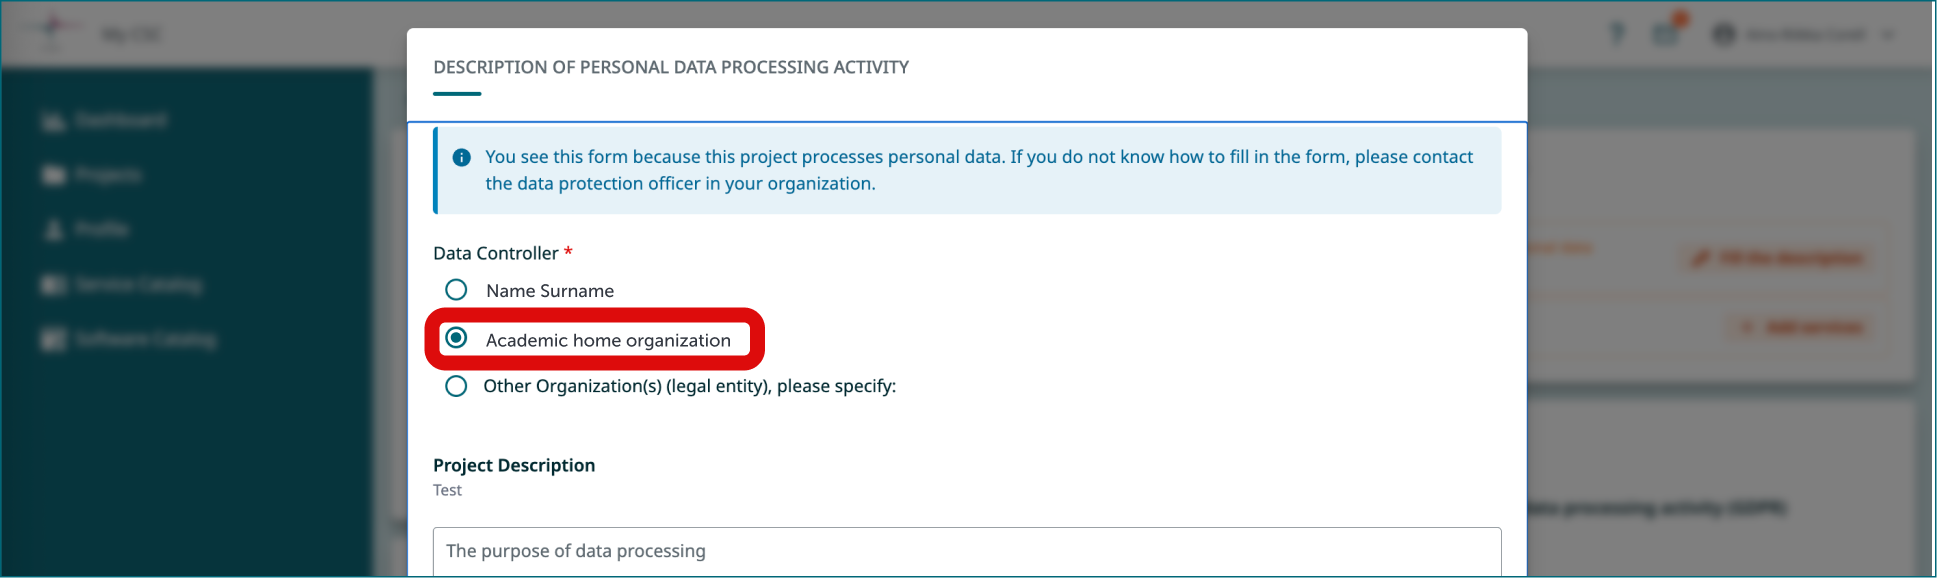
- Since your project handles personal data, you need to fill the GDPR document i.e. Description of processing activity -form.
- The document appears when you create a new project. You can edit this document later.
- Your home organization is the data controller. Read more about the roles and GDPR.
4. Contact CSC service desk
Warning-label
Team manager
- Send email to sensitivedata-support@csc.fi, subject: Sensitive Data, Secondary use.
- Write your project number to the email (e.g. project_1234567).
- Attach a copy of your data permit to the email.
- Write down a list of your research teams' email addresses. Please use same emails that they created the CSC-account with.
- Put your research team as cc.
5. CSC adds members to your project
- Please wait that Sensitive Data Support -team adds your research team to your project
- Note! All team members must have a CSC account, so they can become project members.
6. CSC activates SD Desktop -service for your project
- Please wait that Sensitive Data Support -team activates SD Desktop -service for your project.
- You will receive an email notification, when everything is ready.
7. Your CSC project is ready!
Warning-label
Team manager
Info-label
Team member
- Write down your project number, you might need it later (e.g. project_1234567).
- Now you can log out from MyCSC and login to SD Desktop.
8. Apply for Billing Units
SD Desktop consumes Cloud Billing Units type (BU). You should estimate your project’s resource and storage needs for the next six months and apply for the required amount using the MyCSC portal. More information about Billing Units.
You can apply (for free) for billing units in the MyCSC portal:
- Log in to MyCSC
- On the left navigation bar select Projects and in the new view click on your CSC project
- Scroll down and under Resources, on the right corner, click on Apply for resources
- In the new window you will see the services you have active in the project (in gray). Press Next.
- In the second view, click on the Billing Units package you need (e.g. M) for:
- Cloud Billing Unit type (used by SD Desktop)
- Click Next.
- you will be guided to upload or add information about a publication related to your research. If you don't have a publication yet, you can also upload your research plan, or any old publication related to your research group.
- In the last view, you can review the project description and field of science. Finally, you can click Submit.
Small BU applications (s) are automatically approved.