Table of contents of user guide
How to get access to SD Services: Project member
Use case
You need access to SD services for processing research data. You are member of a research team and research team manager has invited you to join CSC project.
Solution
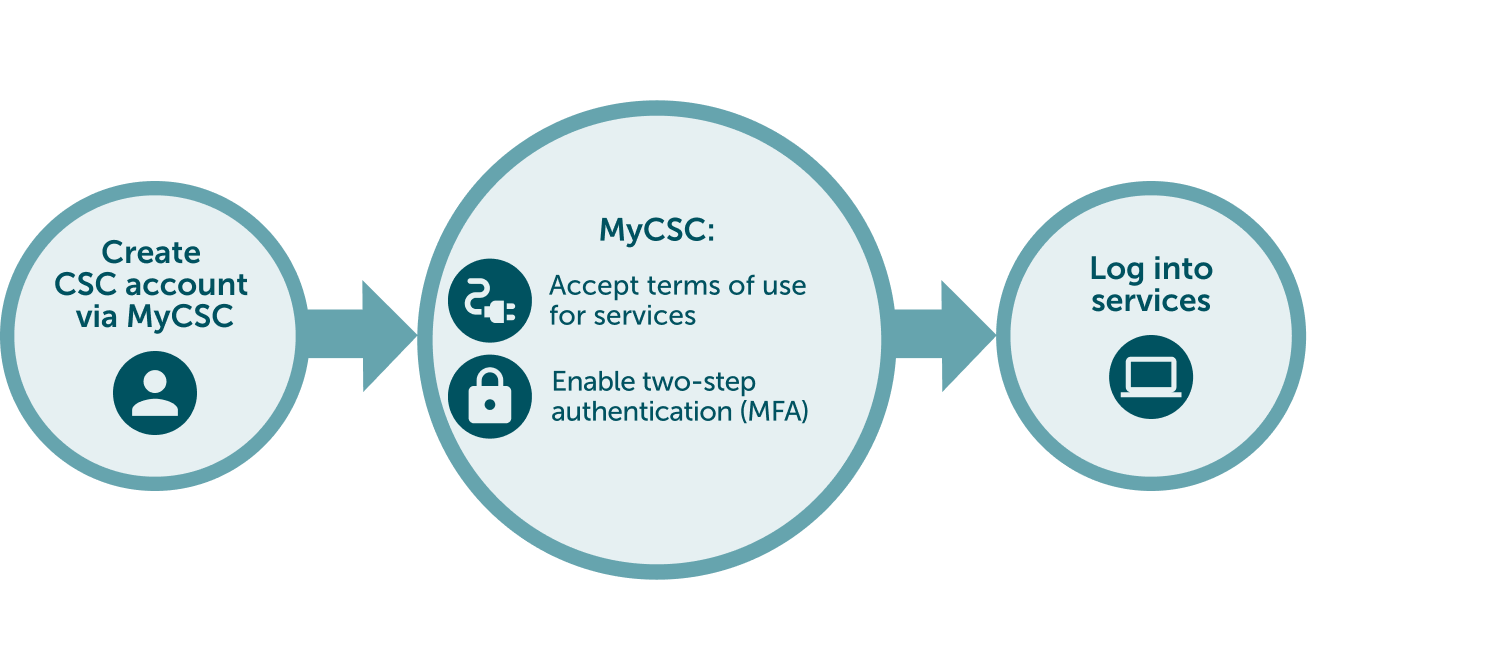
Step by step tutorial
1. Create a CSC account
- Go to MyCSC portal
- Log in with Virtu or Haka, based on your home organization's federation. Select your home organization and log in to their identity service. How to get an account without Haka or Virtu.
- Fill in your information on the Sign up page.
- Create a password with at least 12 characters, including upper and lowercase letters and at least one number. No special characters allowed.
- You will get your CSC user account confirmation via email.
2. Join to CSC project
The project manager has either added you to a CSC project or sent you an invitation link.
- Option A: Project manager has already added you as a member. Check your email for a notification and log in to MyCSC to find the project.
- Option B: You received an invitation link via email. Click the link to apply for membership, and the project manager will approve your membership application.
3. Log into services
- Now all the preparations are ready and you can start using the Sensitive Data services. Below you'll find links to related user guides:
SD Connect:
SD Desktop: