Option 1: Virtual desktop has a volume and you don't need new features of SD Desktop
Choose this if your analysis is short-term or almost finished, and you prefer to avoid the effort of migrating. Before you begin, make sure you read the instructions carefully and agree on the approach with your colleagues.
Step-by-step
1: Access desktop
-
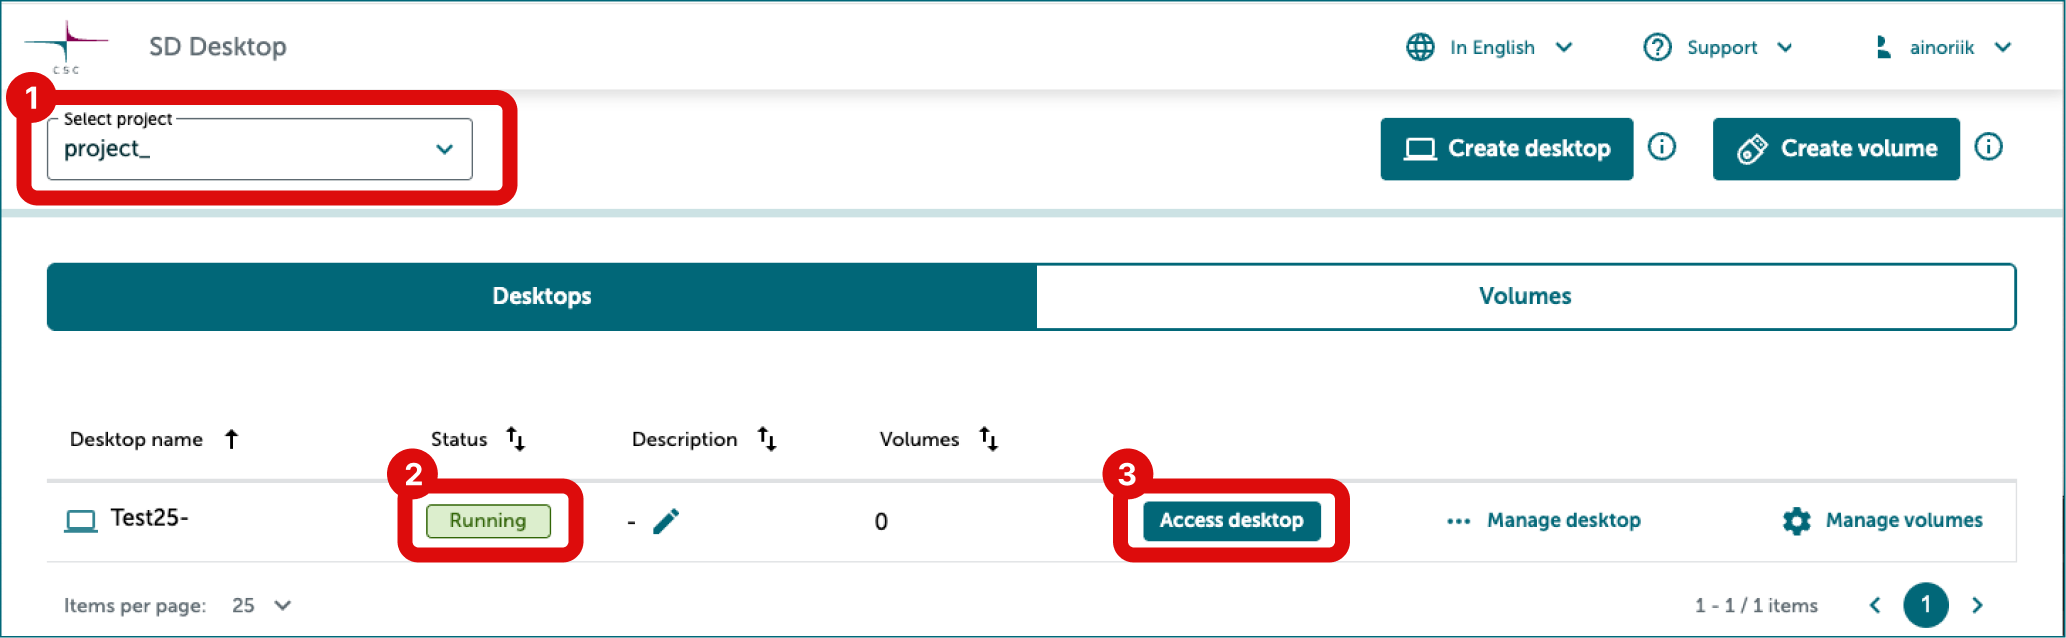
Login to SD Desktop. Select the correct CSC project in the top left corner. Now you can see all desktops in this project.
-
Make sure the virtual desktop you want to access is running. If it is paused, you need to unpause it before you can access it.
-
Access virtual desktop by clicking Access desktop on right side of the desktop name.
When you open the connection, a virtual desktop will open in your browser in a new window.
2: Save all important data to the volume
As a safety step, all project members should save data they want to keep to the volume.
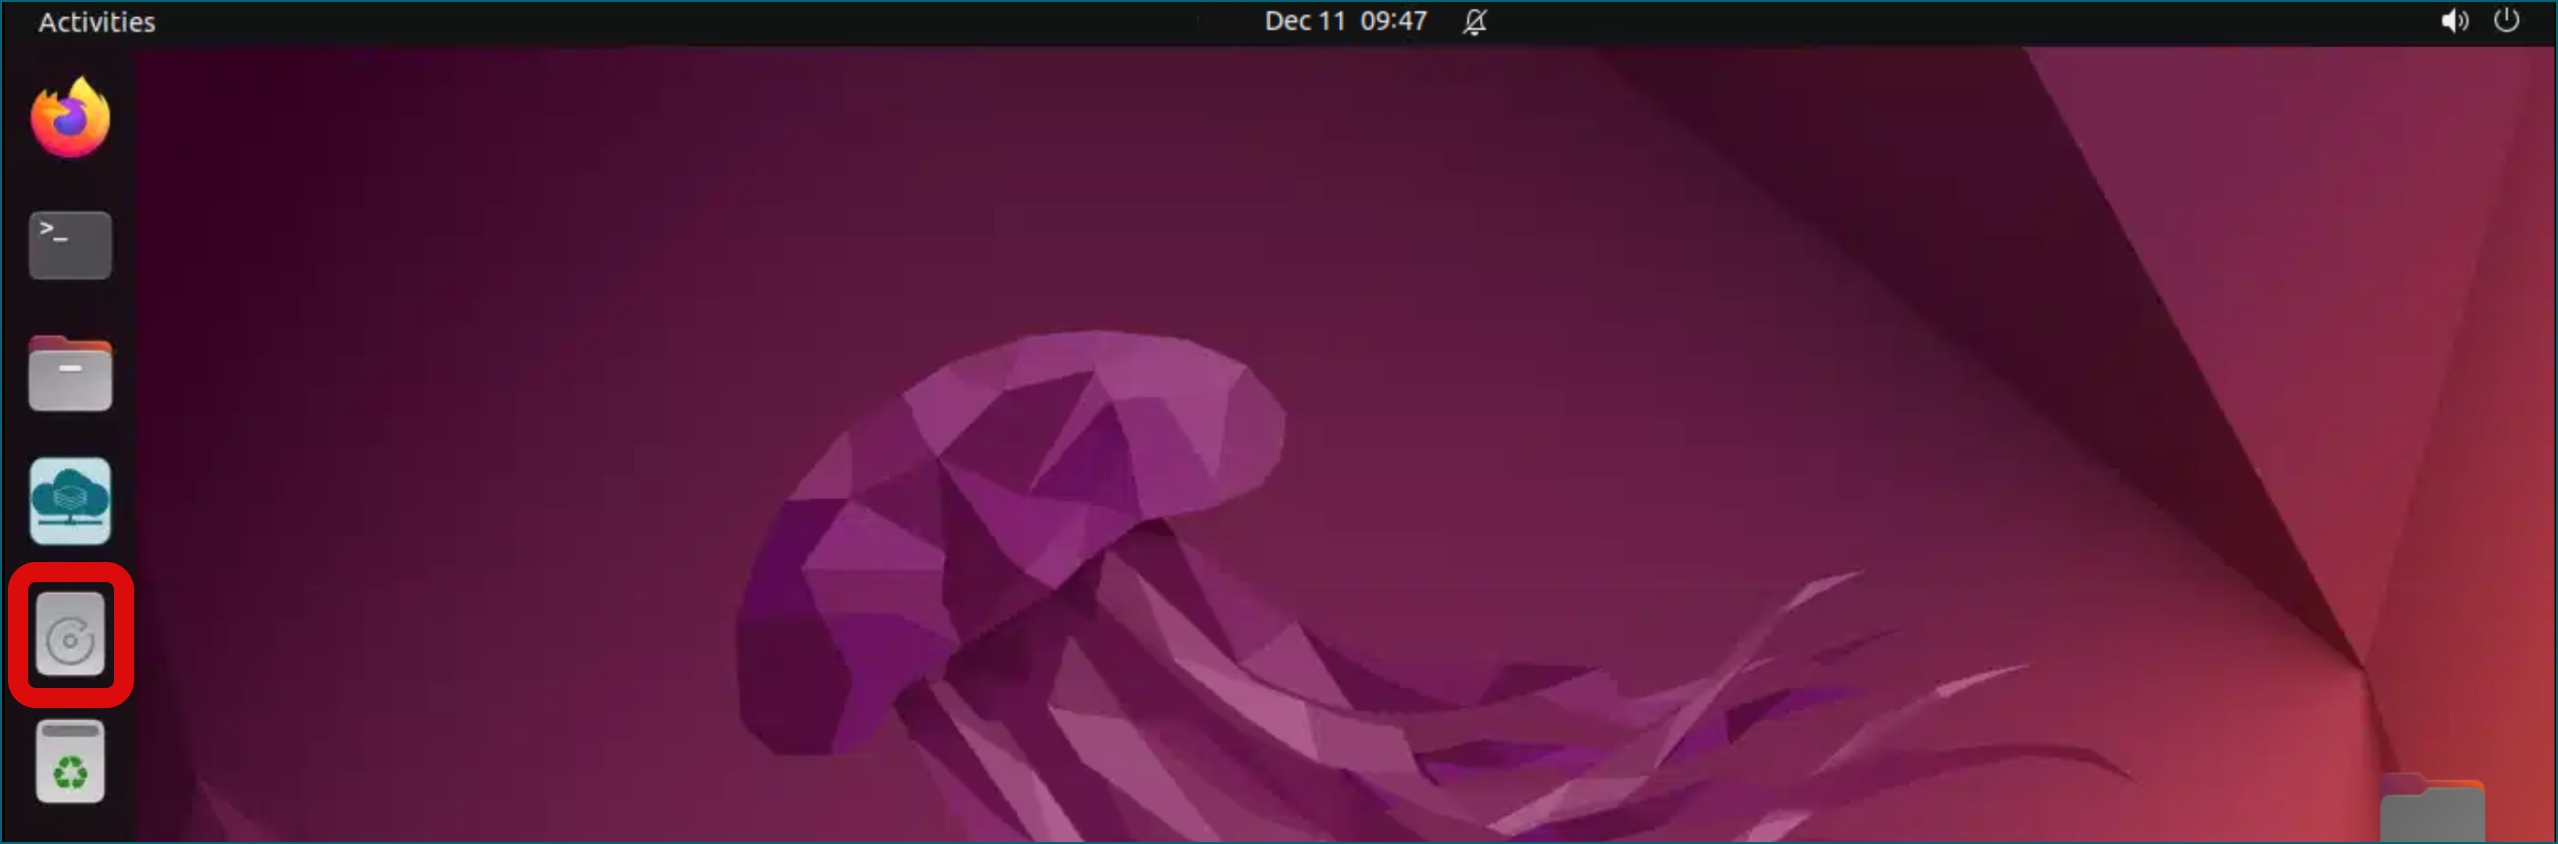
- Open Volume.
- Save data you want to keep to the volume.
3: Update Data Gateway application
All project members who plan to import data to SD Connect need to update Data Gateway application.
Project manager needs to update update Data Gateway application to export data.
Step 1
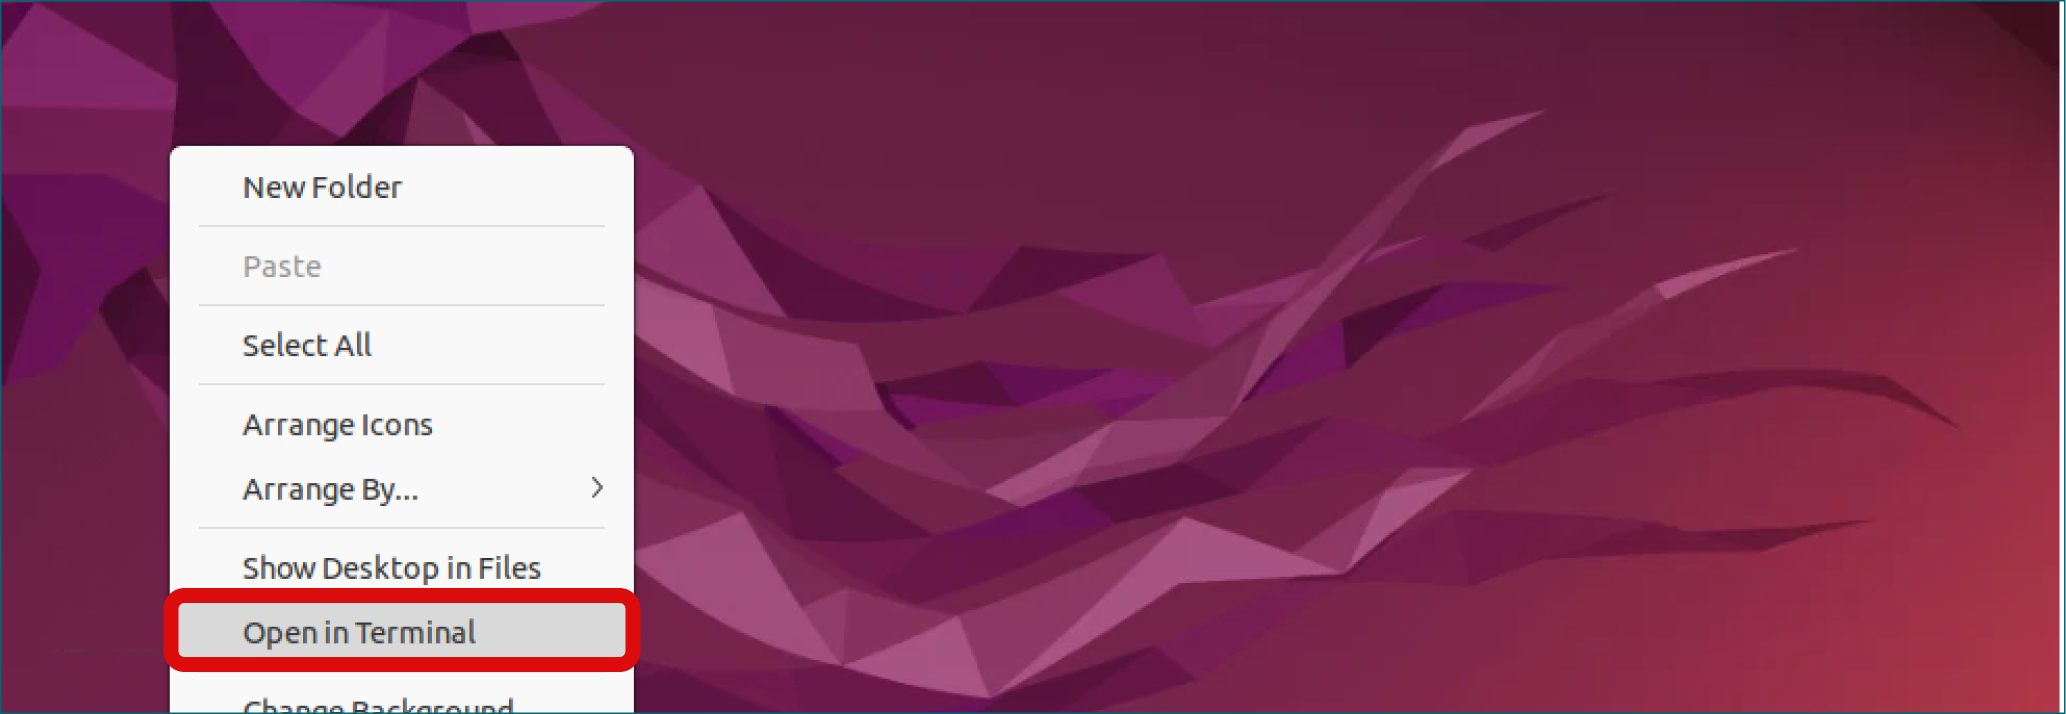
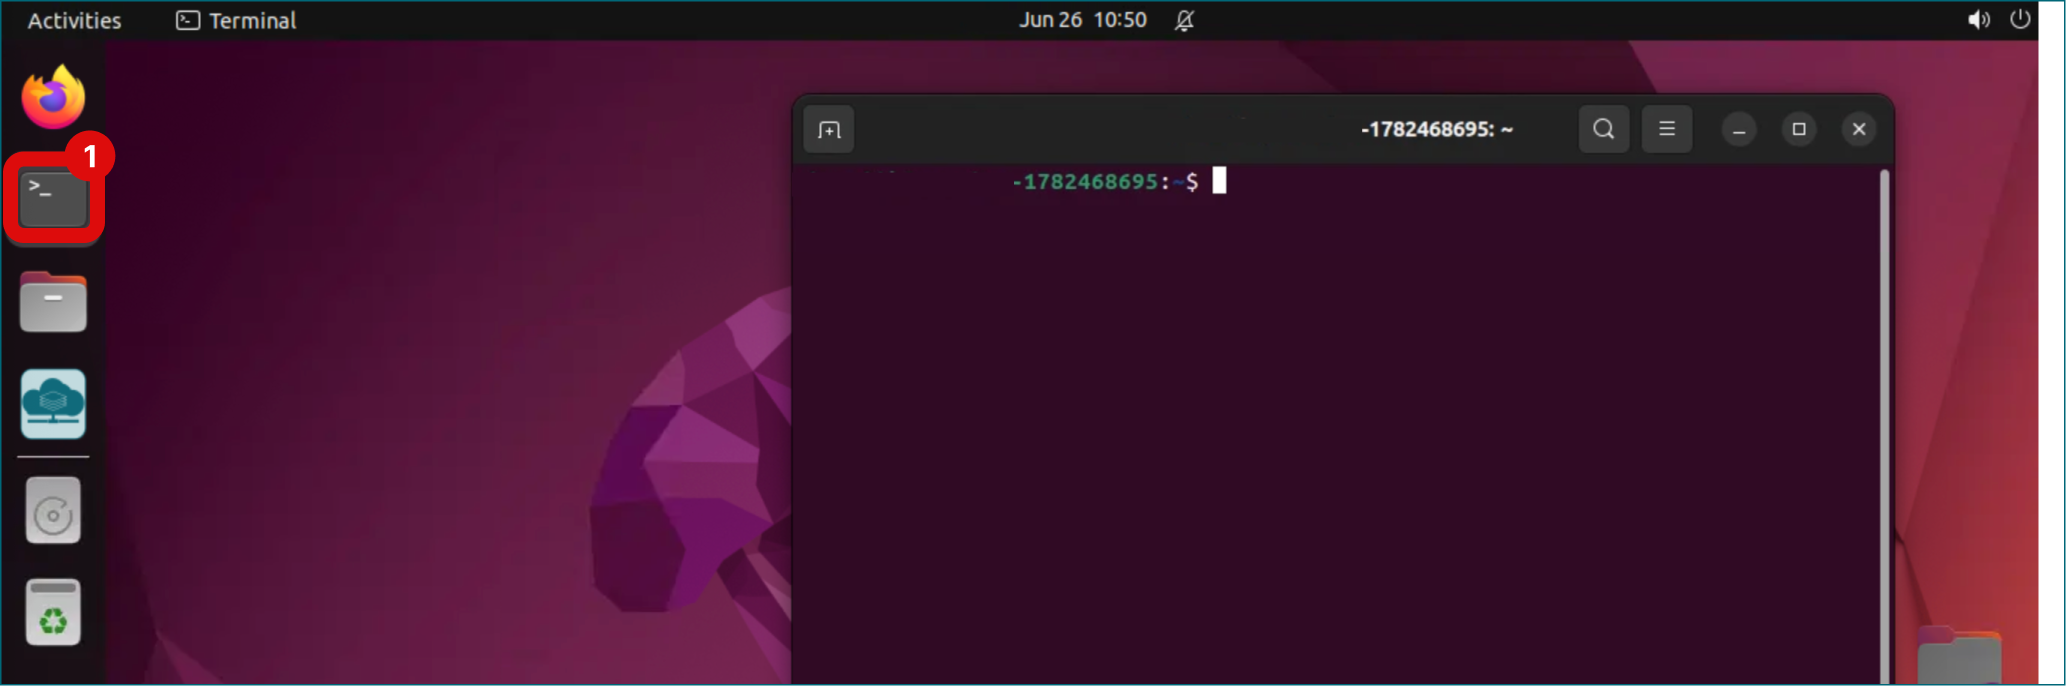
In the virtual desktop, right click on a empty space right-click and select Open in Terminal.
Step 2
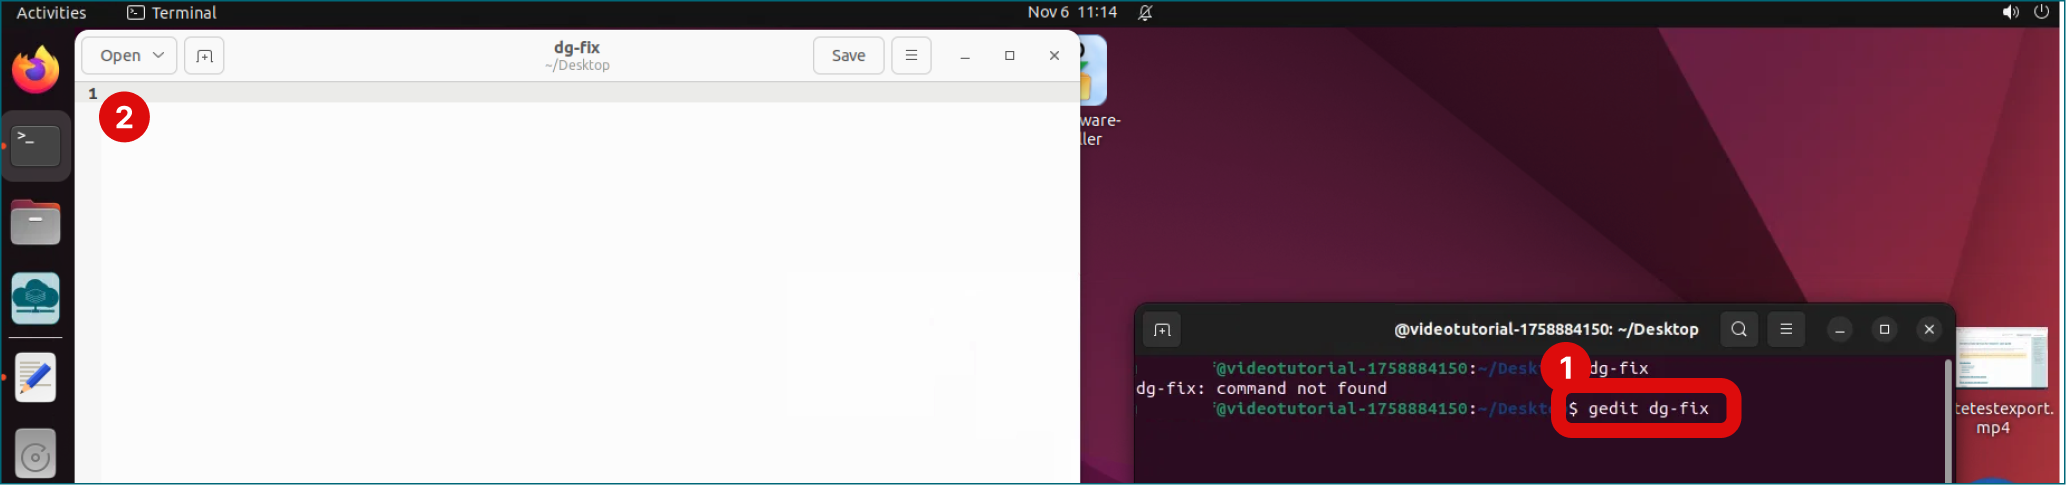
Type the following command and press Enter:
Step 3
This opens the Gedit text editor. Make sure the editor view is active by clicking inside it.
Step 4
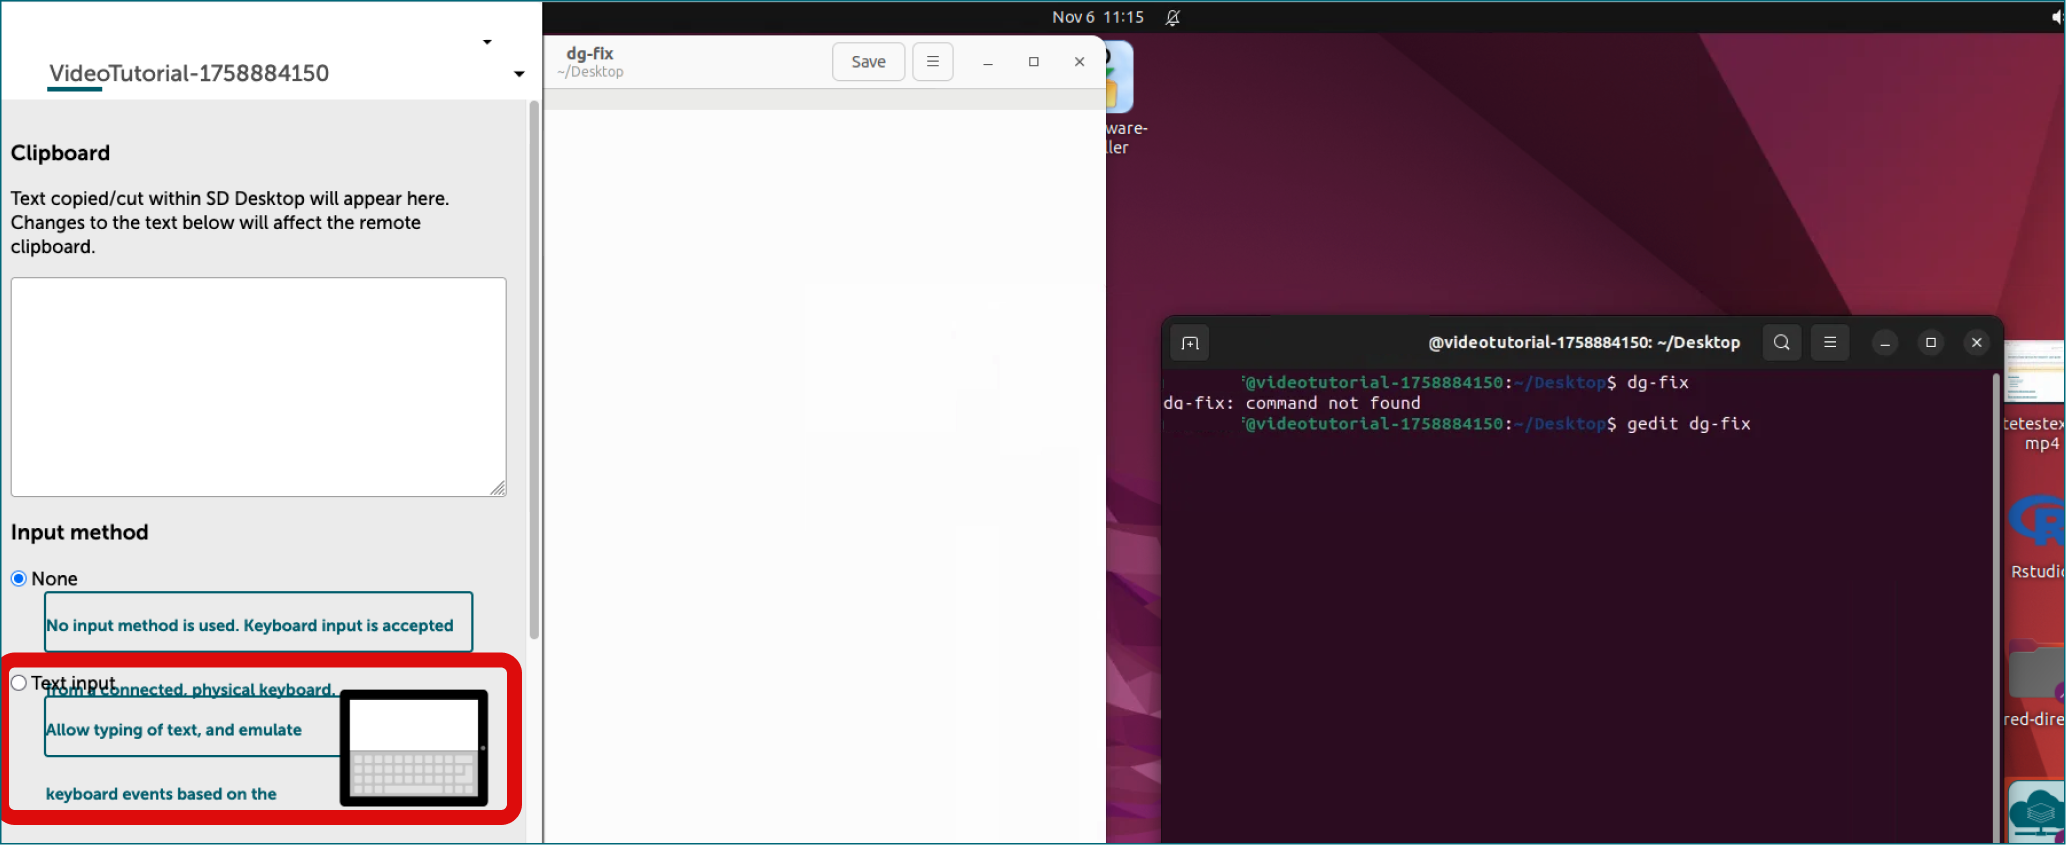
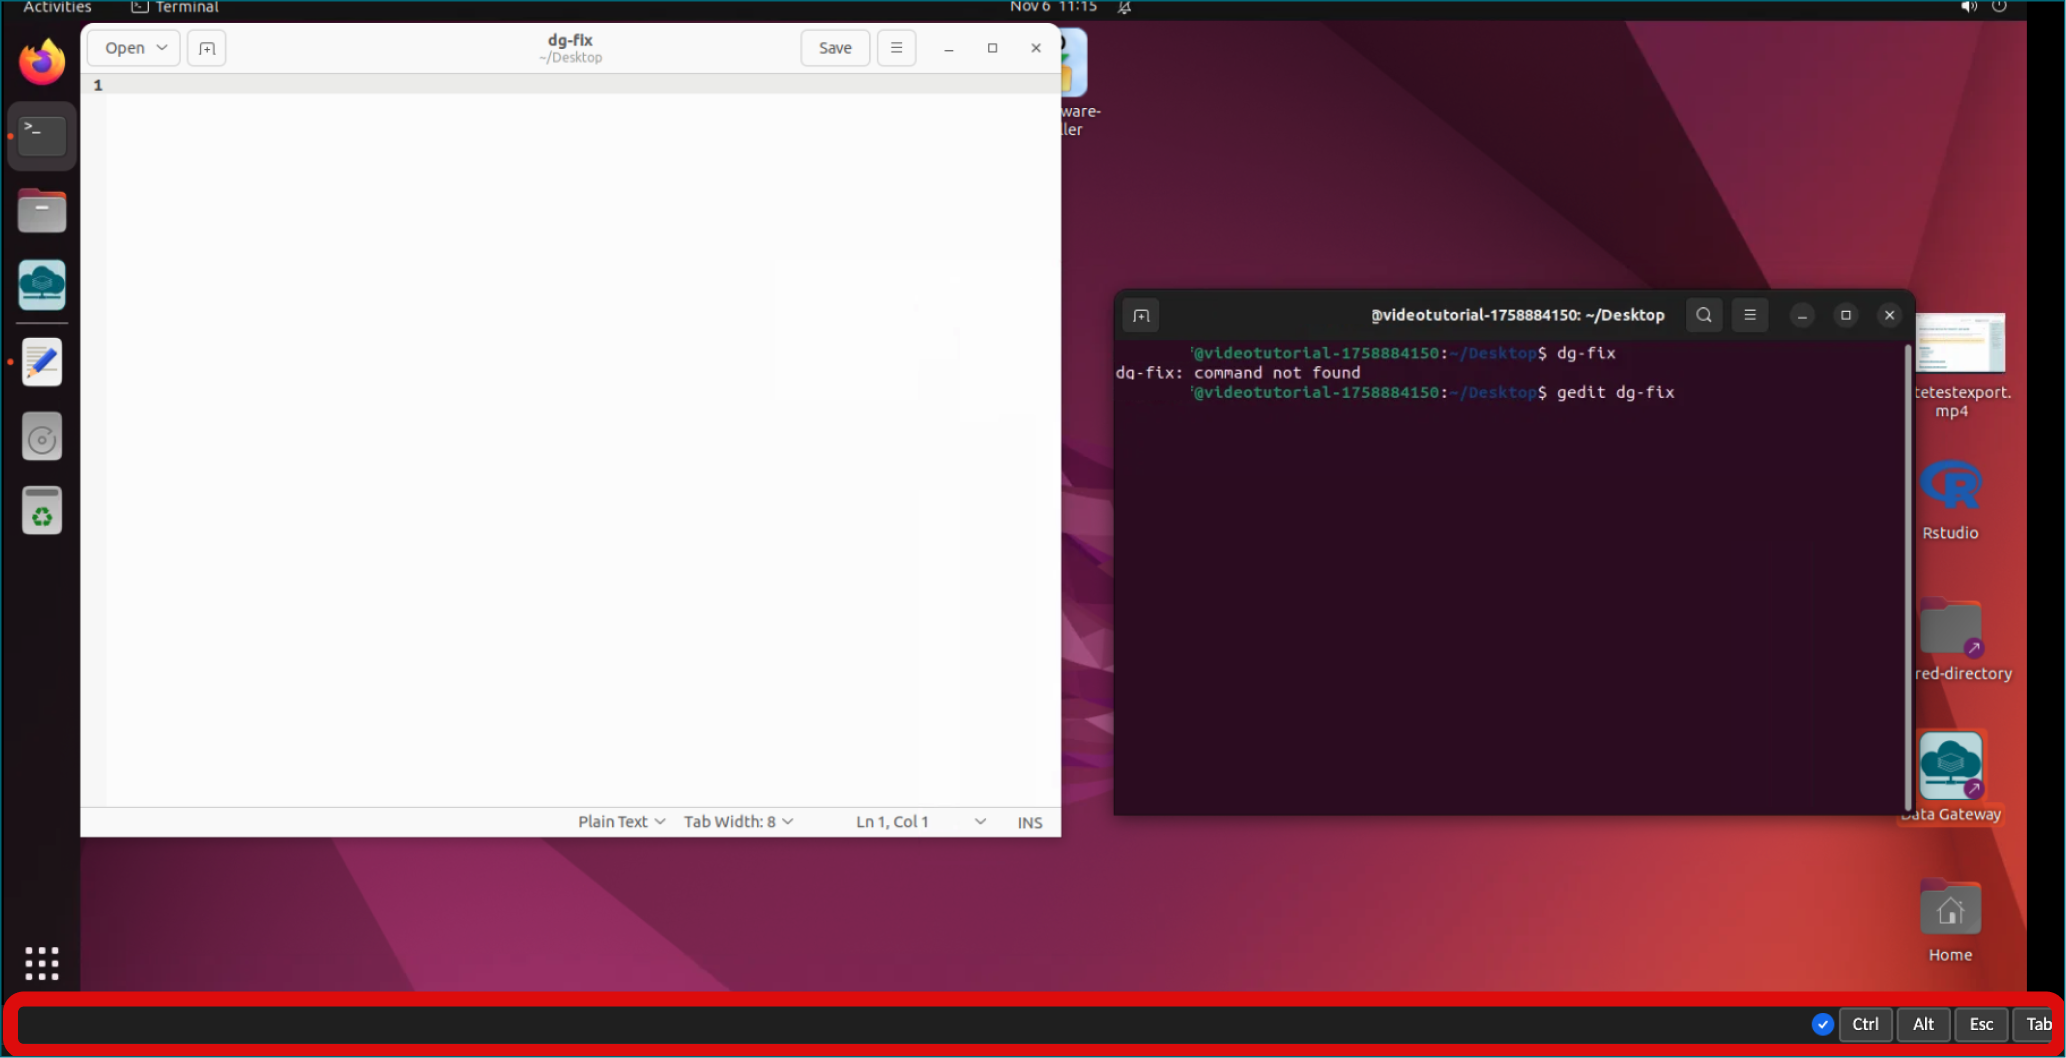
Press Ctrl + Alt + Shift to activate the copy-paste function in the virtual desktop.
Step 5
Copy the entire script below by clicking on the icon on the top right corner and paste the following script into the virtual desktop input field:
mkdir -p ~/.local/bin

tee ~/.local/bin/csc-update > /dev/null <<'EOFOUTER'
#!/bin/bash
# This script can be run any number of times and it will always download the latest Data Gateway available and overwrite the existing installation.
# This script is intended to be used in old Ubuntu 22 VMs. The new Ubuntu 24 VMs have a command 'csc-update' that does similar updates.
set -e

echo "Installing New Data Gateway"

echo "[1/3] Logging in"

# Get JWT access token from profile endpoint which is required for accessing the binary downloads
PROFILE_RESPONSE=$(curl -s -w "%{http_code}" -H "Authorization: Bearer ${SDS_ACCESS_TOKEN}" https://terminal.sd.csc.fi:8283/profile)
PROFILE_RESPONSE_STATUS="${PROFILE_RESPONSE: -3}"
PROFILE_RESPONSE_BODY="${PROFILE_RESPONSE:: -3}"
if [ "$PROFILE_RESPONSE_STATUS" -eq 401 ]; then
  echo "Token expired: please log out of the desktop, and website, then log back in and try again."
  exit 1
elif [ "$PROFILE_RESPONSE_STATUS" -ne 200 ]; then
  echo "Profile request failed: $PROFILE_RESPONSE_STATUS, $PROFILE_RESPONSE_BODY"
  exit 2
fi
JWT=$(printf '%s' "$PROFILE_RESPONSE_BODY" | python3 -c "import sys, json; print(json.load(sys.stdin)['access_token'])")
if [ -z "$JWT" ] ; then
    echo "No access token found from profile endpoint"
    exit 3
fi

echo "[2/3] Downloading Data Gateway"

# Download the new Data Gateway CLI and GUI and place them into a newly created directory
mkdir -p ~/.local/bin

CLI_OUTPUT="$HOME/.local/bin/data-gateway-cli"
CLI_STATUS=$(curl -sS -H "Authorization: Bearer ${JWT}" -w "%{http_code}" -o "$CLI_OUTPUT" https://terminal.sd.csc.fi:8283/download/data-gateway-cli-22-amd64)
if [ "$CLI_STATUS" -ne 200 ]; then
  echo "Data Gateway CLI download failed: $CLI_STATUS"
  exit 4
fi
chmod +x "$CLI_OUTPUT"

GUI_OUTPUT="$HOME/.local/bin/data-gateway-gui"
GUI_STATUS=$(curl -sS -H "Authorization: Bearer ${JWT}" -w "%{http_code}" -o "$GUI_OUTPUT" https://terminal.sd.csc.fi:8283/download/data-gateway-gui-22-amd64)
if [ "$GUI_STATUS" -ne 200 ]; then
  echo "Data Gateway GUI download failed: $GUI_STATUS"
  exit 5
fi
chmod +x "$GUI_OUTPUT"

echo "[3/3] Installing Data Gateway"

# Create an app icon for new Data Gateway, so that we get something to click
tee ~/.local/share/applications/datagateway.desktop > /dev/null <<EOF
[Desktop Entry]
Type=Application
Terminal=false
Exec=$GUI_OUTPUT
Name=New Data Gateway
Comment=Replaces the existing Data Gateway for use in Ubuntu 22 VMs
Icon=/etc/sda-fuse/appicon.png
Comment[en_US.utf8]=Replaces the existing Data Gateway for use in Ubuntu 22 VMs
Name[en_US]=New Data Gateway
EOF

# Add the new Data Gateway to dock if it's not there already, so that it can be clicked from the side bar
if ! gsettings get org.gnome.shell favorite-apps | grep -q "'datagateway.desktop'"; then
    gsettings set org.gnome.shell favorite-apps "$(gsettings get org.gnome.shell favorite-apps | sed s/.$//), 'datagateway.desktop']"
fi

# Add the new Data Gateway to desktop if it's not there already, so that it can be double clicked from the desktop
if [ ! -L ~/Desktop/datagateway.desktop ]; then
    ln -s ~/.local/share/applications/datagateway.desktop ~/Desktop/datagateway.desktop
fi
chmod +x ~/.local/share/applications/datagateway.desktop

# Make the new Data Gateway desktop app trusted, so that it can be clicked
gio set $HOME/Desktop/datagateway.desktop "metadata::trusted" "true"

echo "New Data Gateway has been installed"
echo "Find the desktop application from the desktop or the sidebar titled 'New Data Gateway'"
echo "For terminal use, find the command 'data-gateway-cli'"
EOFOUTER

chmod +x ~/.local/bin/csc-update
bash ~/.local/bin/csc-update

echo "Terminal commands become available after your next login to the desktop:"
echo "'data-gateway-cli' to run Data Gateway in the terminal'"
echo "'csc-update' to install the latest Data Gateway again if a new version is available"
Step 6
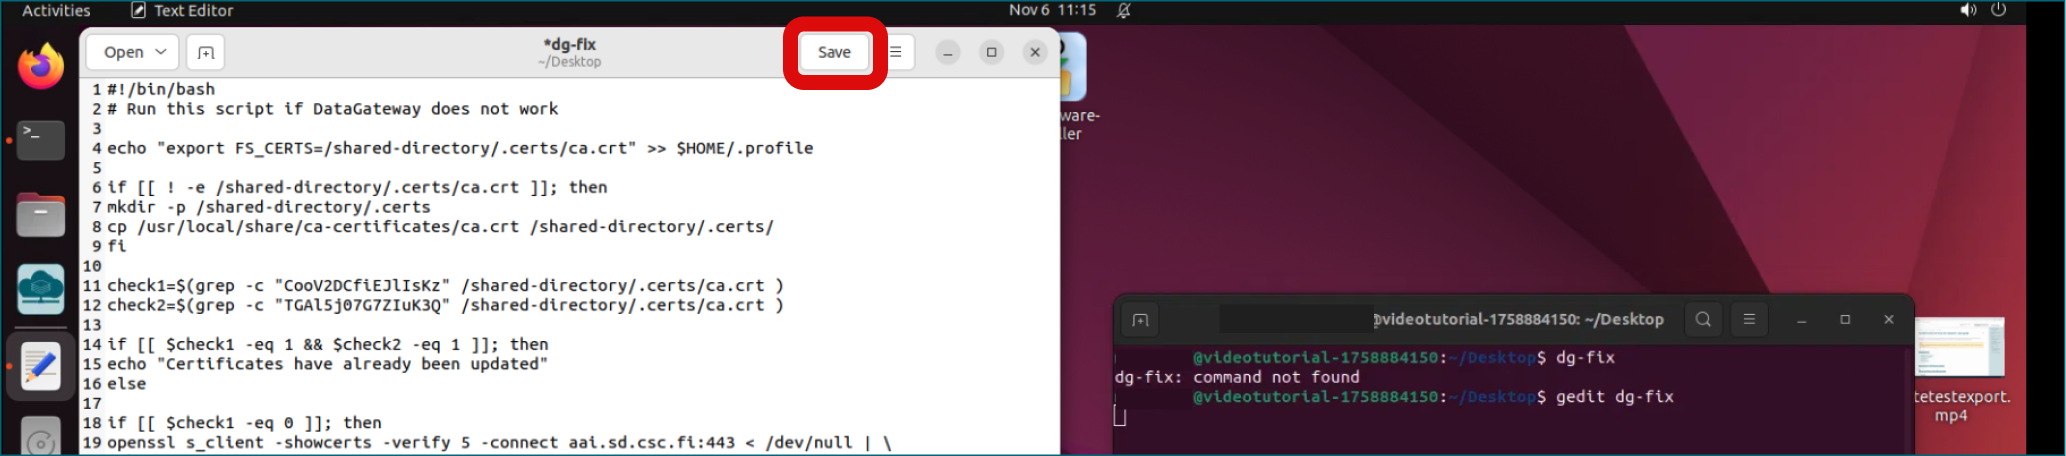
Paste the script into the clipboard. Move to the virtual desktop and click inside the empty document and right click paste.
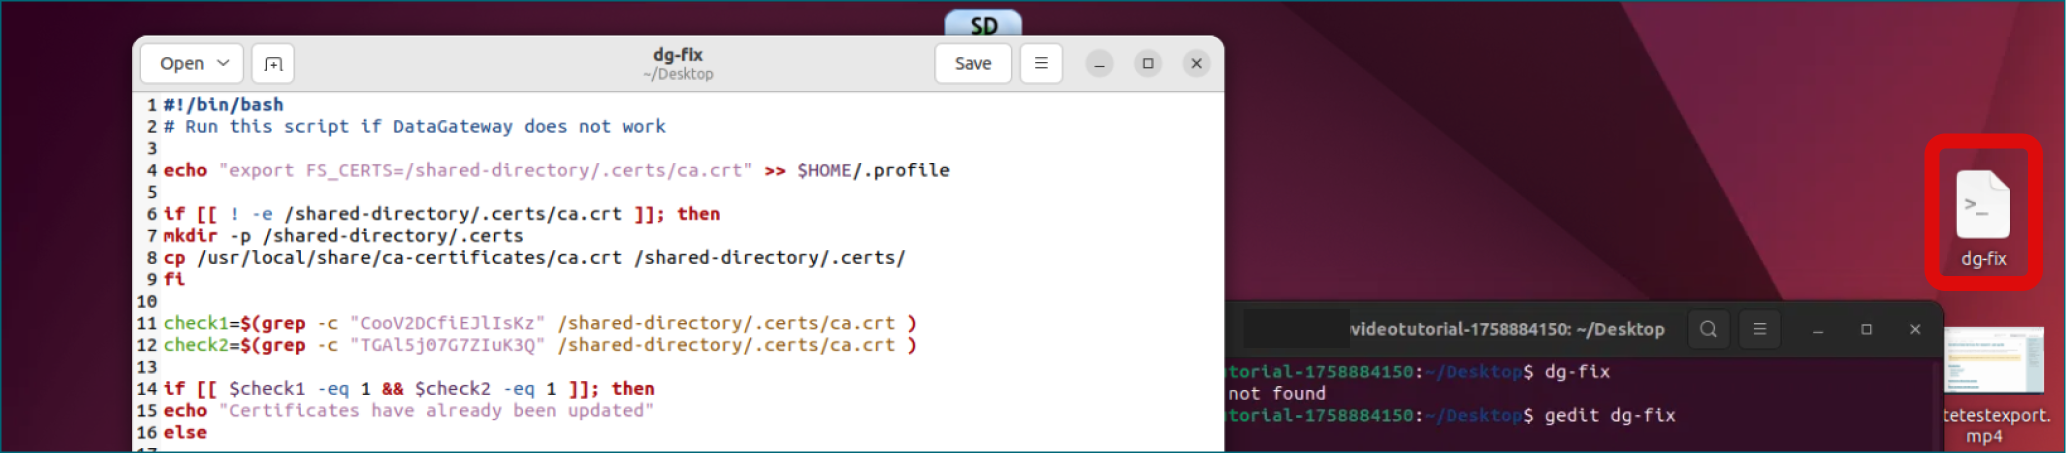
The script will appear in the document. Click Save in the top-right corner of document, then close the editor. A file named csc-update will appear on your desktop.
Step 7
In the terminal, type or copy the following command and press Enter:
The New Data Gateway icon will appear on the virtual desktop.
Step 8
When the script has finished running:
- Close the terminal window.
- In the top-right corner of the virtual desktop, select the Power button.
- From the drop-down menu, select Power Off / Log Out.
- In the window that opens, select Log Out.
- Select Home to return to the main SD Desktop page.
- In the top-right corner, next to your username, select Log out.
Log in to SD Desktop again and access the virtual desktop. The Data Gateway icon should now work.