SD Connect Conversion command line tool
-
Page is under construction
This page and content is under construction and development.
-
Note
We are currently carrying out additional checks on the bucket conversion process following some issues we have observed. As a precaution, we kindly ask you to wait before using the Conversion Tool and not start a new conversion until further notice.
Step 1: Verify that you have enough quota
You will need enough quota to complete the conversion. First you need to know the amount of data you have in Urgent buckets per project.
- Log into SD Connect and select a project.
- Add the sizes with Urgent label you have in your project together. Repeat for other projects.
You will need twice this amount of quota to complete the conversion. Check the amount you have and apply for more if needed by following instructions below. Repeat for other projects.
- Log in to MyCSC.
- Go to Projects page (menu on the left or hamburger icon) and navigate to your project's view.
- Scroll down to Services window.
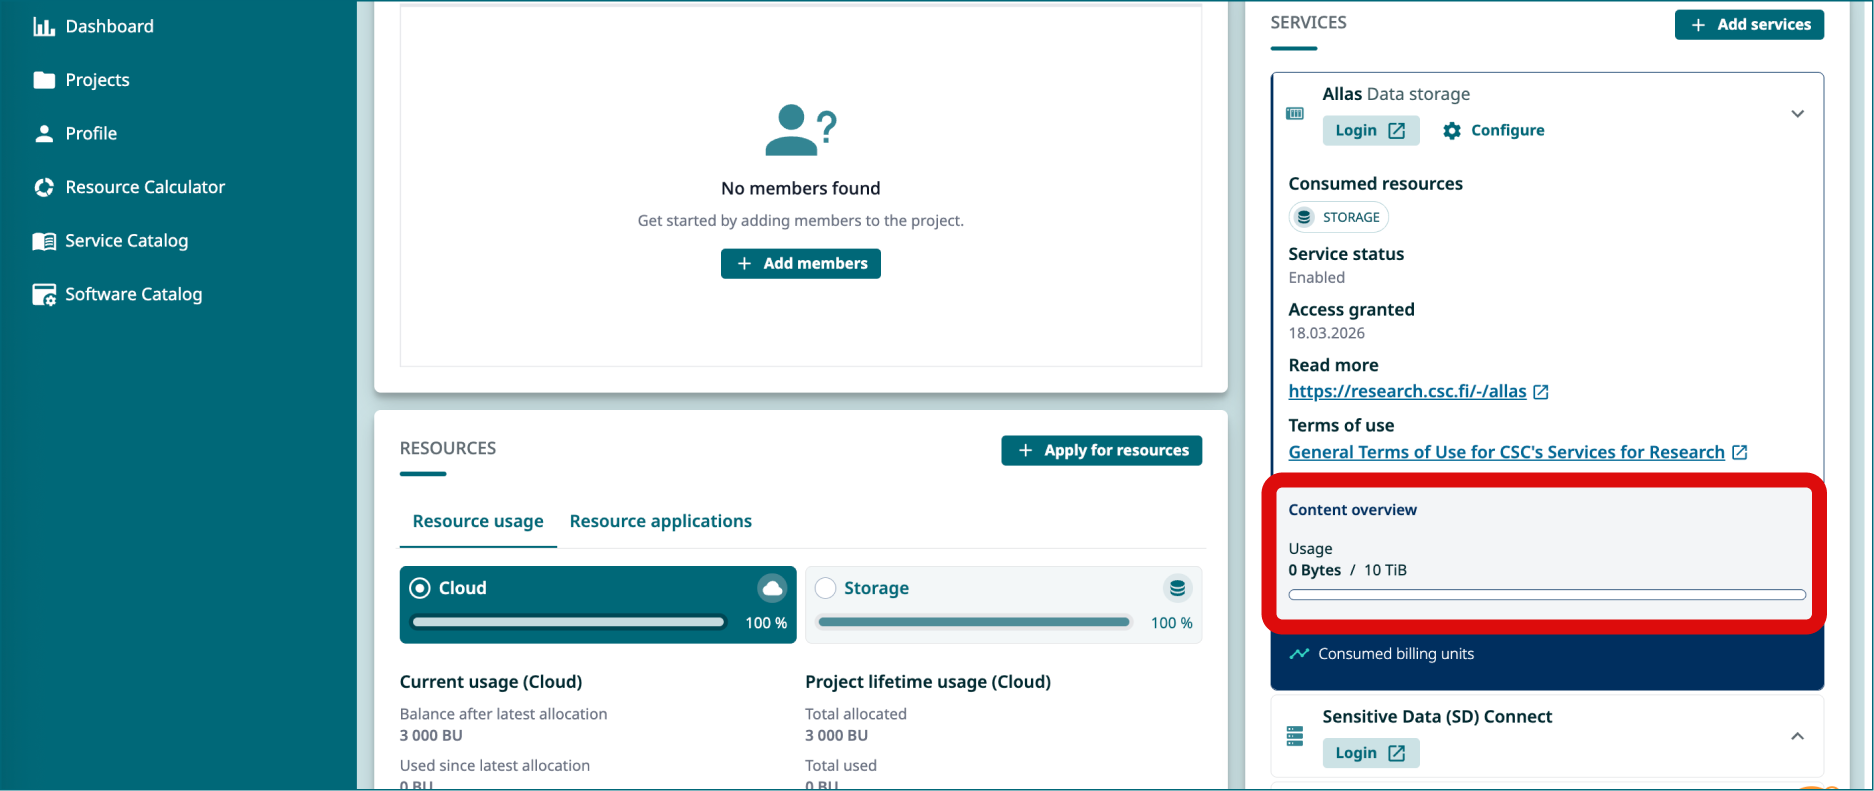
- Click Allas. You can see storage quota under Usage at the bottom of the window. By default amount of quota is 10 TB.
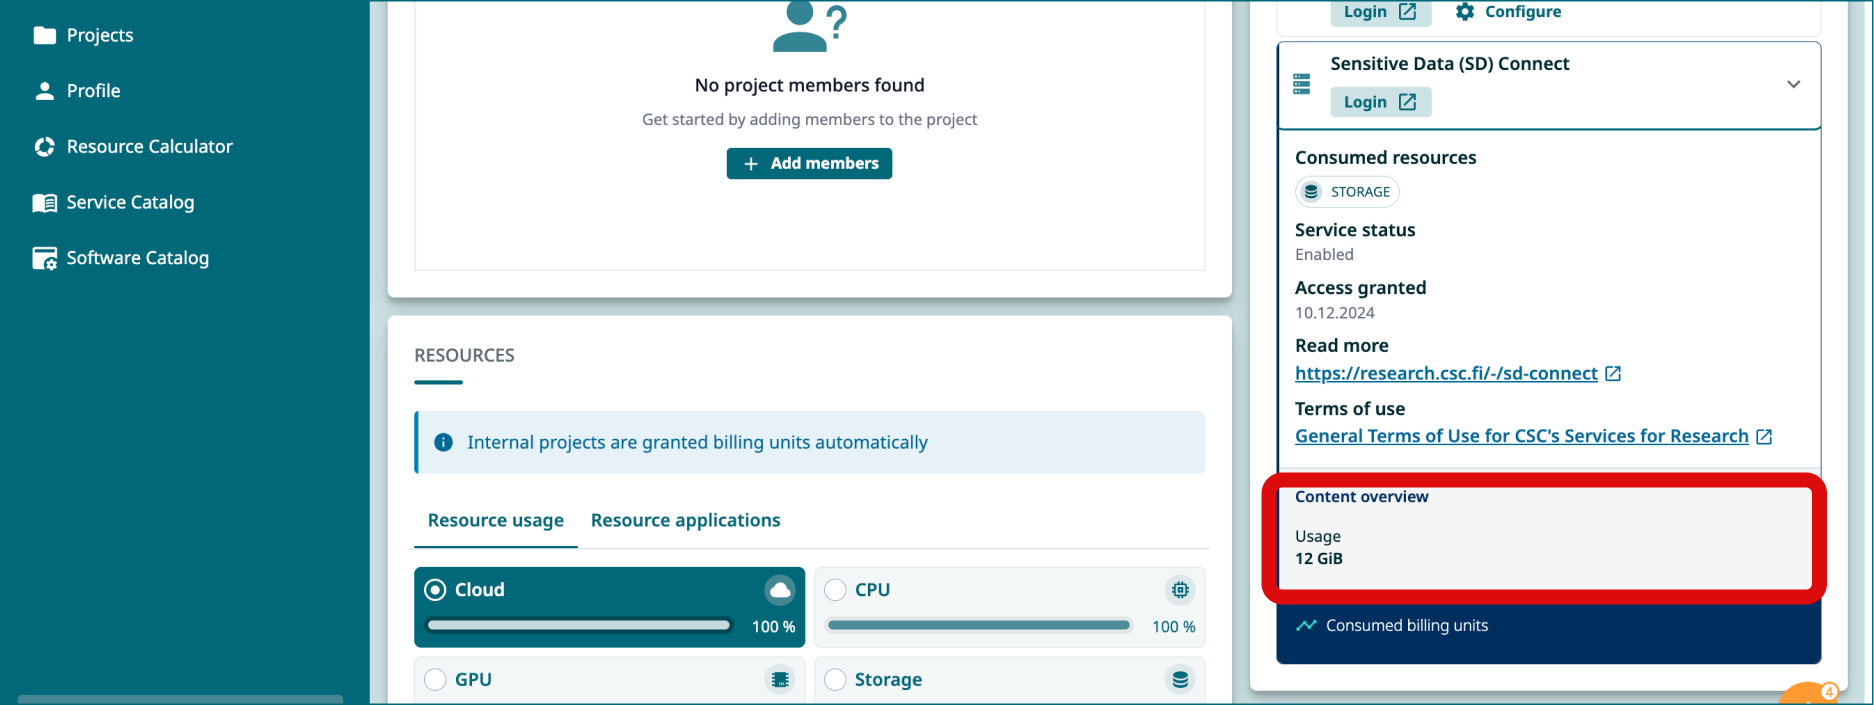
- Then scroll down service list and click SD Connect. You can see how much storage quota you are using under Usage at the bottom of the window. For example if you have 10 TB of storage quota and you've used 4 TB, your project has 6 TB of quota available.
-
If you have less quota available than is needed, apply for more:
- Send email to Service Desk (subject line: Increase Allas quota). It takes few days to process your application.
- You will receive email when your quota is available.
Migrating SD Connect buckets in Roihu
The SD Connect migration tool is available in Roihu supercomputer. The tool can be installed to your local computer too, but in many cases Roihu provides fester connection to SD Connect and thus quicker migration.
Open terminal connection to Roihu using either locally installed terminal program or the Roihu Web interface. In the web interface select tool:
- Login node shell (Roihu-CPU)
This tool provides you a terminal session running in one of the login nodes of Roihu.
Next check your available disk areas with command:
The command above lists the /projappl and /scratch disk areas that you can use and the current usage of these disk areas. In some cases the conversion process may need to download the whole content of the bucket temporarily to Roihu, so you should do then conversion in a directory where you have enough free space for the temporary copy of the bucket to be migrated. Note that the scratch directory you use don’t need to belong to the same project than the SD Connect bucket to be migrated.
Move to a scratch disk area of a project where you have enough free storage capacity available with command:
Then, load the Allas tools:
Next you can start the conversion process with command
The command will first ask for your CSC user account and password. Note that HAKA password can't be used here.
After that accept the default values for authentication API address and SD Connect API Address.
After these selections, the tool shows a list of your SD Connect projects. Choose the project to be used from the list. Use the arrow keys to move up and down in project list and press “space” to select a project and continue by pressing “enter”.
Next, the tool asks for the API key for the project you selected. Open a new browser tab and open SD connect web interface. The API keys are project specific. In the web interface, check that the active project is the same that you have select for the conversion too. You can get API the token from the “Support” menu. Note that you need to define a name for your API key. The name can be anything as it is actually not used in any step of the migration process.
When API key has been inserted to the terminal, the tool displays a list of all buckets of your SD Connect project. Note that the list does not contain information about which buckets need to be converted. You will need to check this information from the SD Connect web interface. Use the arrow keys to move up and down in the bucket list and press “space” to select a bucket and start conversion process by pressing “enter”.