How to download and access file encrypted with older version
If you uploaded files encrypted with your encryption key using previous version before October 2024, you can still download them through the current SD Connect. However, these files will remain encrypted, and you will need to decrypt them on your laptop with the Crypt4GH application by following the provided instructions:
Please note that you can only decrypt one file at a time. If you need to decrypt multiple files at once, a command line option is available. For further assistance, contact CSC Service Desk.
1. Via SD Connect user interface
1.1 Preparation
-
Have your private encryption key available. If you don’t remember the key used, please contact CSC Service Desk.
-
Download the Crypt4GH graphical user interface on your laptop. This tool is necessary for decrypting the files. If you experience any issues installing the tool, especially on a laptop provided by your IT department, please contact us for assistance.
-
Install the Crypt4GH application: CSC has developed a simple application that will allow you to generate your encryption keys and decrypt data when necessary. Download the version specific to your operating system from the GitHub repository:
Please check that the tool for Windows has been digitally signed by CSC - IT Center for Science. After the download, you can find the Crypt4GH application in your downloads folder. When you open the application for the first time, you might encounter an error message. In this case, click on More info and verify that the publisher is CSC-IT Center for Science (or in Finnish CSC-Tieteen tietotekniikan keskus Oy) and then click on Run anyway.
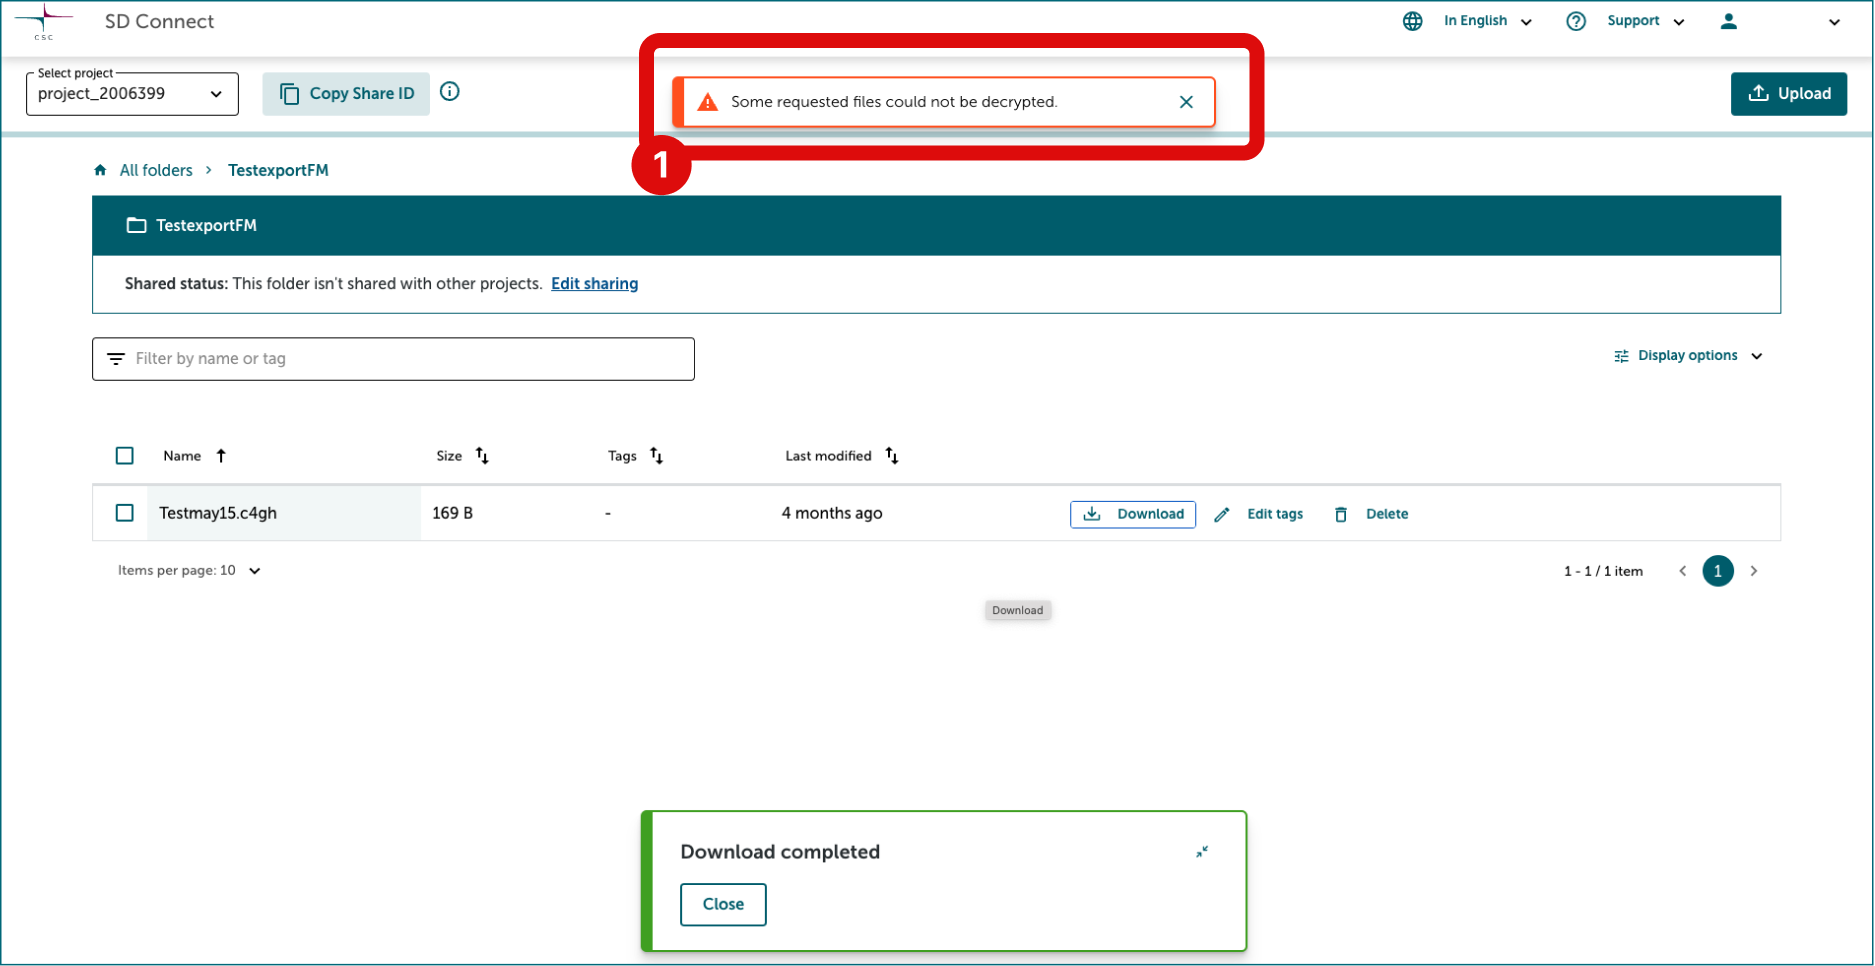
1.2 Download the files from SD Connect
Access SD Connect and locate the files you need. You can download either the entire bucket or individual files. At the end of the download, the user interface will display the message: "Some requested files could not be decrypted."
1.3 Change the file extension
After downloading the files, you need to adjust their extensions. Right-click the file, choose "Rename," and add .c4gh to the end of the filename. If opened with a text editor, the files will still be encrypted.

1.4 Decrypt the files with the Crypt4gh application
Next, you can decrypt the file using the Crypt4GH application and your secret encryption key. Unfortunately, it is currently only possible to single files. 1. Open the Crypt4GH application and click on load Your Private Key. 2. Click on Select File and upload the file you want to decrypt. 3. Click on Open. 4. Next, click on Decrypt File. 5. The tool will ask you to write the secret key's password. Press ok.
The secret key must match the public key used to encrypt the data.
Note
In the case of decryption, adding the public key is not mandatory, but if you have the public key of the person who has encrypted the file, you can use it to verify the encryption signature. If you don't select a public key, the activity log will display the following (the decryption will be executed anyway):
If your decryption runs successfully, the activity log will display the following:
Decrypting..... Decryption has finished Decrypted file: C:/users/username/exampledirectory/examplefile
The decrypted file will no longer display the .c4gh extension and will be saved in the same folder from which the original file was uploaded.
- Follow video and after downloading the file, change the extension.
2. Programmatically
2.1 Preparation
Download and decryption of files uploaded with CLI and own encryption key pair is discussed in this section. To encrypt and upload files via command line, please check this tutorial illustrating how to use the crypt4GH tool to upload files in Allas (visible from SD Connect). Below is also more information about the crypt4GH CLI. For documentation and more information, you can also check the Crypt4GH Encryption Utility page.
In this example, we first generate your key pair (a password-protected private key and a public key that can be shared with collaborators). Next, we encrypt a file with public keys of two different collaborators (research group A and research group B).
Python 3.6+ is required to use the Crypt4GH encryption utility. If you need help installing Python, please follow these instructions.
-
Install the Crypt4GH encryption CLI tool. You can install Crypt4GH directly with pip tool:
or, if you prefer the latest sources from GitHub:
or even:
-
The usual
-hflag shows you the different options that the tool accepts:$ crypt4gh -h Utility for the cryptographic GA4GH standard, reading from stdin and outputting to stdout. Usage: crypt4gh [-hv] [--log <file>] encrypt [--sk <path>] --recipient_pk <path> [--recipient_pk <path>]... [--range <start-end>] [--header <path>] crypt4gh [-hv] [--log <file>] decrypt [--sk <path>] [--sender_pk <path>] [--range <start-end>] crypt4gh [-hv] [--log <file>] rearrange [--sk <path>] --range <start-end> crypt4gh [-hv] [--log <file>] reencrypt [--sk <path>] --recipient_pk <path> [--recipient_pk <path>]... [--trim] [--header-only] Options: -h, --help Prints this help and exit -v, --version Prints the version and exits --log <file> Path to the logger file (in YML format) --sk <keyfile> Curve25519-based Private key When encrypting, if neither the private key nor C4GH_SECRET_KEY are specified, we generate a new key --recipient_pk <path> Recipient's Curve25519-based Public key --sender_pk <path> Peer's Curve25519-based Public key to verify provenance (akin to signature) --range <start-end> Byte-range either as <start-end> or just <start> (Start included, End excluded) -t, --trim Keep only header packets that you can decrypt --header <path> Where to write the header (default: stdout) --header-only Whether the input data consists only of a header (default: false) Environment variables: C4GH_LOG If defined, it will be used as the default logger C4GH_SECRET_KEY If defined, it will be used as the default secret key (ie --sk ${C4GH_SECRET_KEY})You may notice that crypt4gh uses
--skoption for the private key. This might seem odd but apparently, crypt4gh uses term secure key for private key, hencesk, and consequentlypkrefers to public key instead of the private key.
2.2 Decrypt a file
To decrypt a file you will need a private key which corresponds to one of the public keys used in encryption phase. Let's assume in our example that the research group A is decrypting a file you've sent them. To decrypt a file they use crypt4gh decrypt command:
where --sk groupA.sec is a corresponding private key to one of the public keys used in the encryption. The crypt4gh command uses only standard input (stdin) and standard output (stdout) so you must use shell redirections: < denotes an input file and > and denotes an output file, hence <dog.jpg.c4gh reads in an encrypted file called dog.jpg.c4gh and >dog.jpg writes out a decrypted file named dog.jpg.
The command will ask the user to enter the password (passphrase) of your private key. For security reasons the password is not displayed when you type it.
Note
In case you are decrypting the file in SD Desktop and the CSC Sensitive Data public key has been used in encryption, decryption will be done automatically, and you do not need to specify any decryption keys. If you need to decrypt a large number of files, please check the tutorial Decrypting all files in a directory.
Additional information about data encryption.