Jupyter notebook
The LUMI web interface can be used to run quantum jobs interactively in a Jupyter notebook. For logging in, see the LUMI documentation.
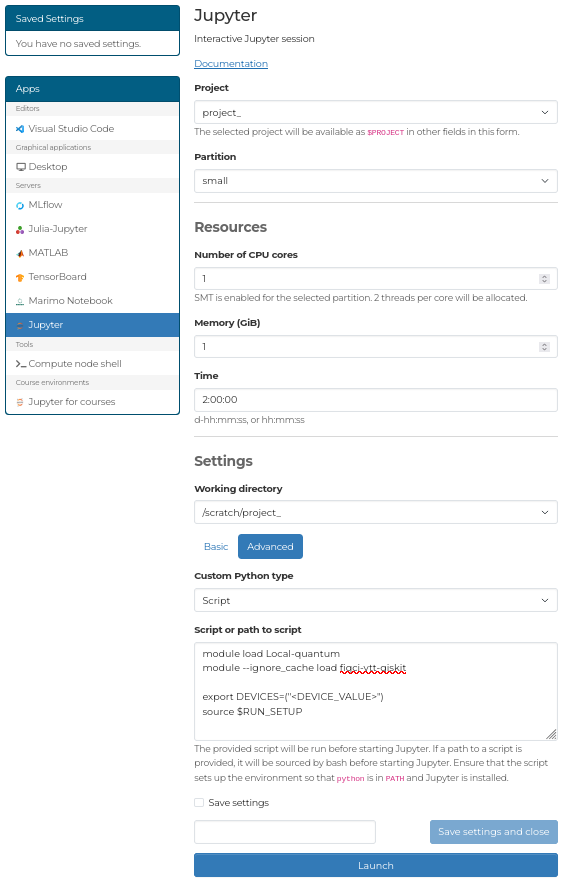
- From the dashboard, open the Jupyter app and select your project and partition. If you have an active reservation, select it under Reservation.
- Under Settings click on Advanced, set Custom Python type to Script, and paste one of the scripts below into the Script or path to script textbox. Replace
<DEVICE_VALUE>with the identifier of your device, see Runtime identifiers on the device page. - Click Launch.
- Now you have access to the Jupyter environment where you can create new notebooks or upload your existing ones with your quantum code.
Exporting multiple backend
You can export multiple backends using export DEVICES=("<DEVICE_VALUE1>" "<DEVICE_VALUE2>"). Make sure the devices have compatible software versions.
Courses
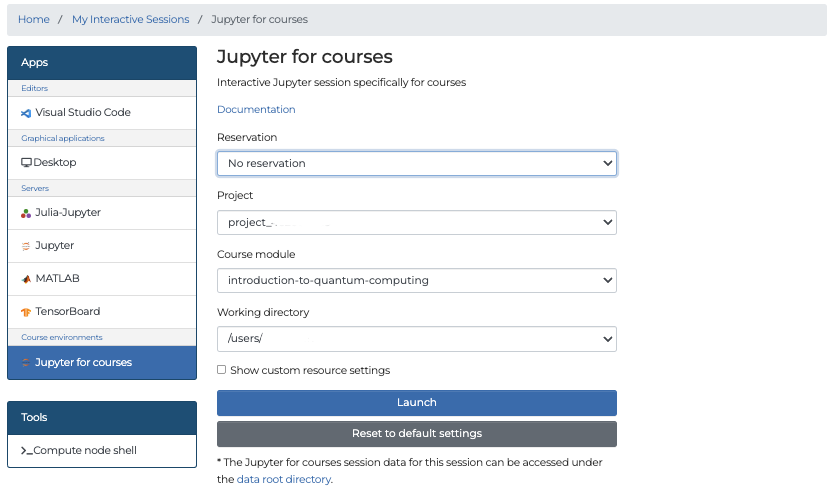
If you are using the quantum computers during a course, a custom environment may have been prepared for it. In that case use the Jupyter for courses app instead.
See Circuit job for an example circuit level job Python script and Pulse job for a Pulse level job example.
Further reading
November 5, 2026